For Various Reasons gestures wildly I was looking at running the ArchiveTeam Warrior image in UTM on my Mac Studio. There's many ways to do this, but since I'm the kind of person who runs macOS as a relatively old-school somewhat-sysadmin, I like doing things the hard way. So if you want to follow their instructions for either VMWare Fusion or Oracle VirtualBox, knock yourself out and don't tell me about it. Also if you're afraid of acronyms, I don't know what to tell you. Throw your computer in a lake and go live in a cave. Of course, that's what I tell people who aren't afraid of acronyms or IT, so your mileage will not vary. Still, should you choose to ignore my advice and still want to do this, come ahead.
Requirements:
- A basic technical knowledge of macOS: You should be able to open a terminal and type shit into it. If the terminal scares you, no shade, we all have to start somewhere, but this blawg post isn't it.
- An installation of Homebrew which more or less requires the above but what the hell, let's make it explicit.
- An installation of UTM and some familiarity with how virtual machines work.
ArchiveTeam distribute their Warrior archiving tool as an OVA. This is NFG for UTM, at least directly. You can, however, convert this image. I discovered that the images used by UTM are called qcow2. The easiest way to get the command line utility you will need to convert is Homebrew, install the qemu package. Then, grab the latest Warrior OVA from ArchiveTeam. At this time it's 4.1. Don't bother yourself with any 3.x versions. Also, note the architecture: these images are filthy x86. We'll get to that later. I stashed my downloaded OVA in the same place I keep my UTM images (separate disk connected by USB-C, I'm cheap and got the standard 512 GB NVMe model Studio).
With your trusty Homebrew, make sure you have qemu installed: brew install qemu. We really only want one smol utility from this, but we're Mac users, we're used to bloat and unnecessary stuff. In other words, this might pull along some pieces you have already with UTM, which is more or less just qemu under the covers. So what?
Next, you will need to extract the VMDK from the OVA. For me, this looked like: tar xf archiveteam-warrior-v4.1-20240906-215354.ova
You'll get something like this if you ls:
archiveteam-warrior-v4.1-20240906-215354-disk001.vmdk
archiveteam-warrior-v4.1-20240906-215354.mf
archiveteam-warrior-v4.1-20240906-215354.ova
archiveteam-warrior-v4.1-20240906-215354.ovf
You need to convert the VMDK to the moooooooo format:
qemu-img convert -O qcow2 archiveteam-warrior-v4.1-20240906-215354-disk001.vmdk archiveteam-warrior-v4.1.qcow2
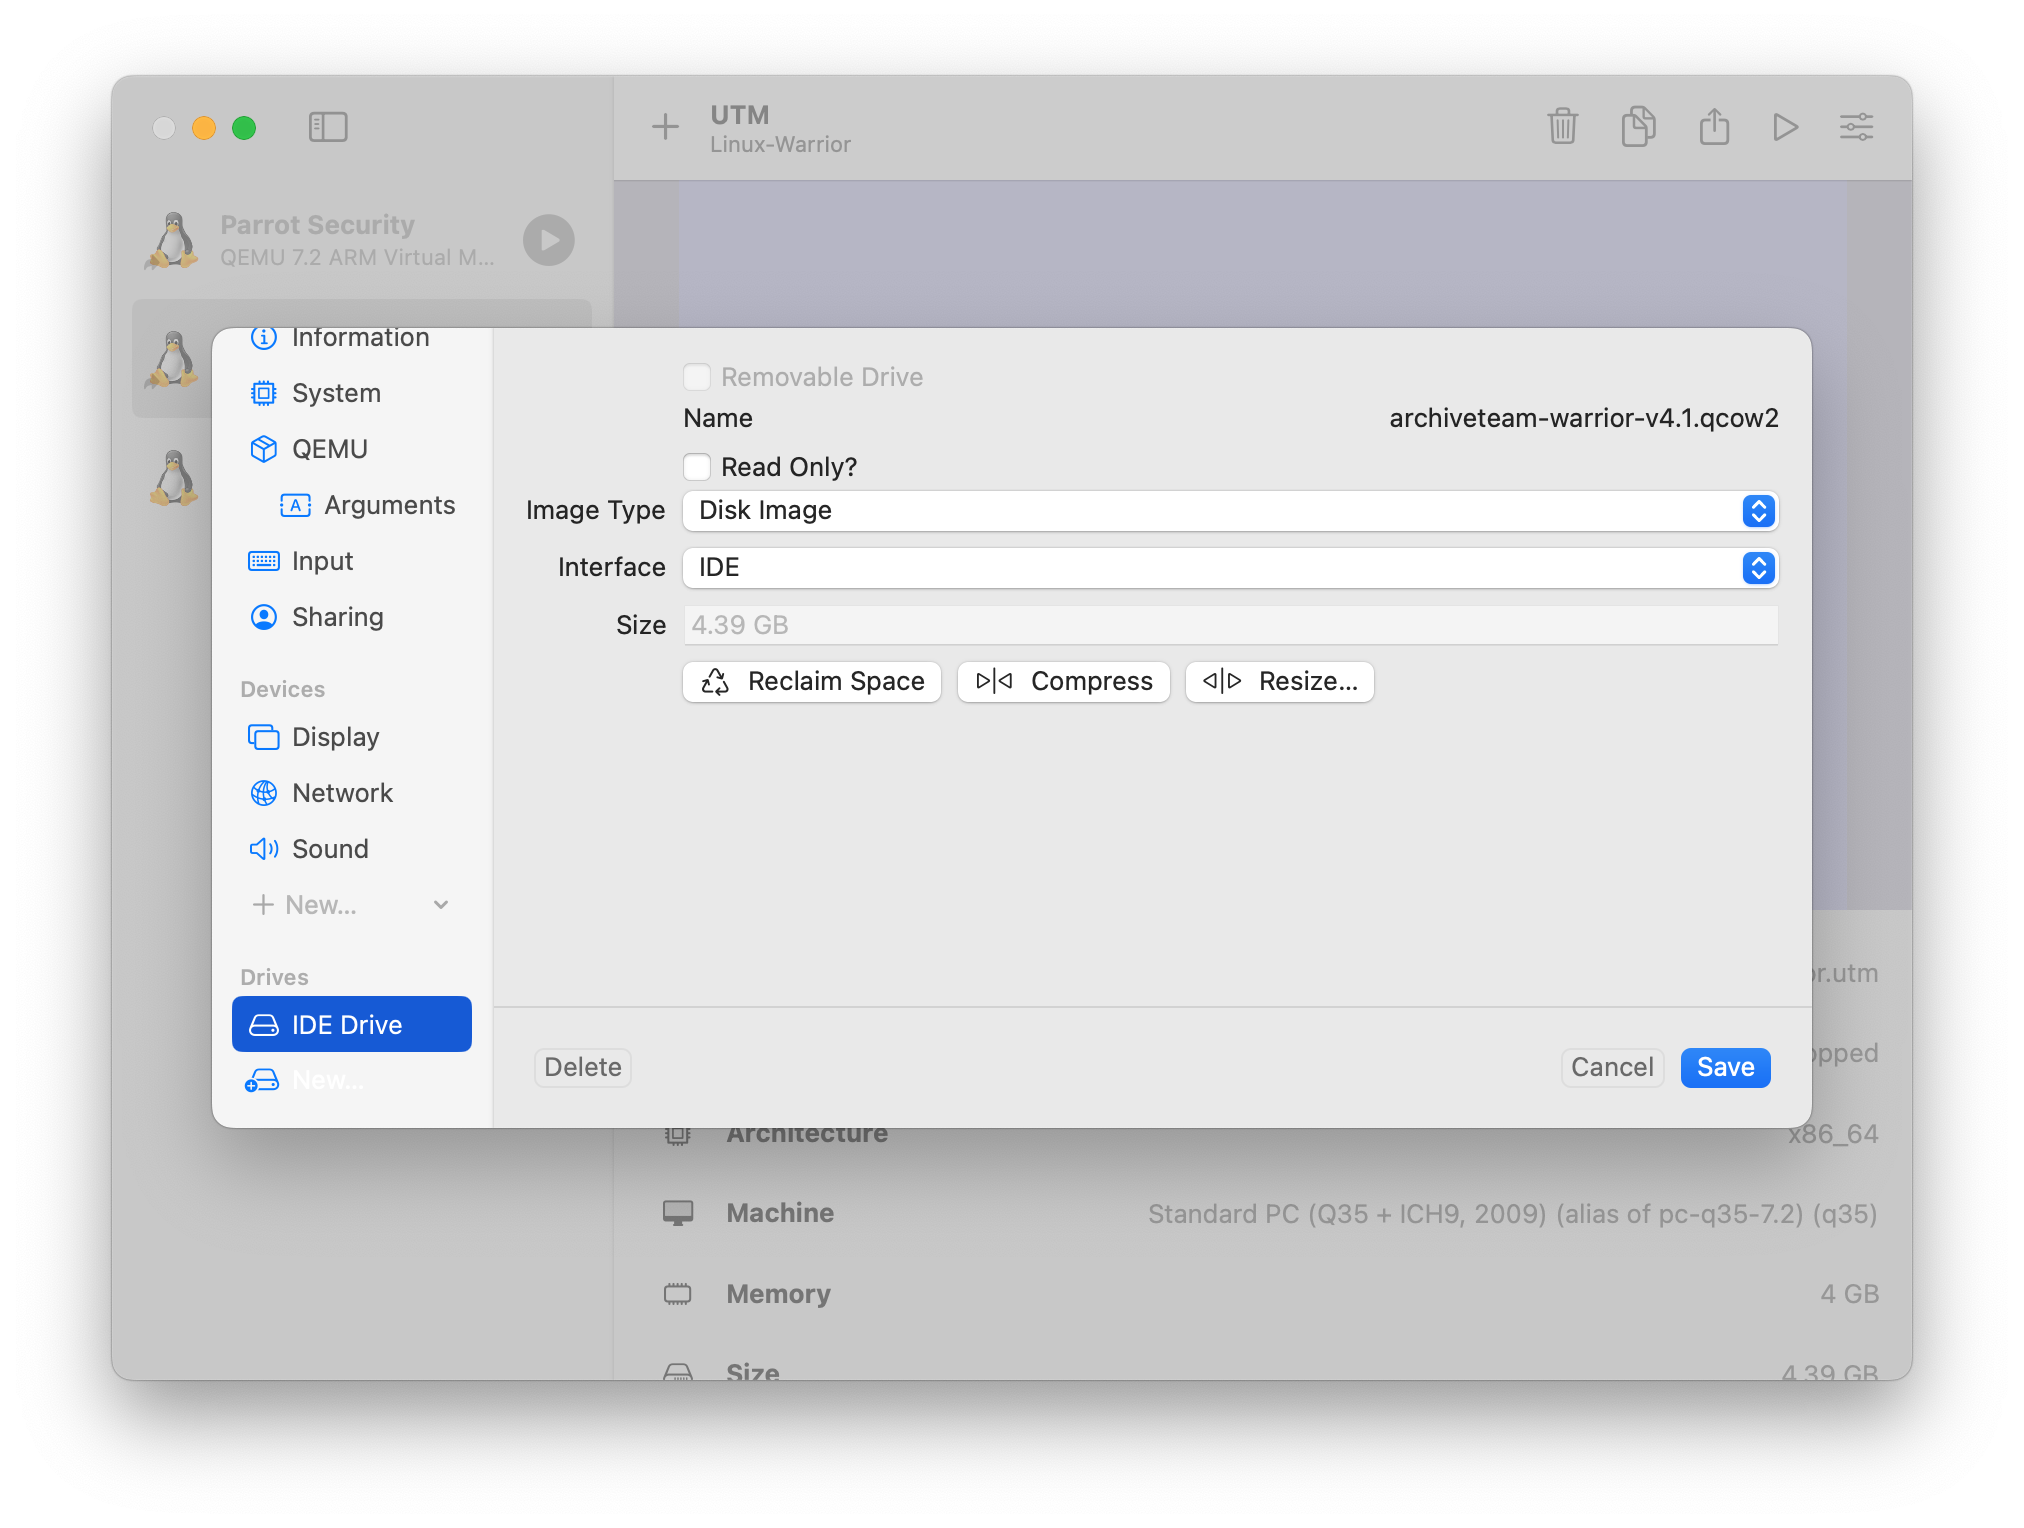
Since this VMDK and therefore cowwwww image are filthy x86, you will need to set up a VM in UTM kind of on hard mode. That's ok, that's why you're here instead of using Fusion like a Broadcom-lover, right? So click the + like a monkey hoping for a raisin, then Emulate. It's a gross Linux machine, so pick that. You can pick the boot image to be whatever you like, but maybe choose your qcow2 file you just made, and hit next. Give it however much RAM you think you can afford, continue, and the default drive size is fine. Call it whatever you like, but make sure you click "Open VM Settings" before you whack the Save button. You're going to look for Drives, and just delete them both (you probably have an IDE drive that's a disk image, and an IDE drive that's a CDROM pointing to your qcow2 file). Add a new IDE drive, click import, and point it at your qcow2 file. It will look something like this:
While you're editing your VM, set the Network tab to Mode "Bridged (Advanced)" and leave the rest. This will give you a VM that exists on the same network as everything else. If your network setup is more complicated than mine, just give addresses to anybody who asks, I don't know why you need me to tell you how to set up UTM.
Anyway, after that, it's pretty much done. You should be able to start the VM, and then follow ArchiveTeam's instructions for using a web browser to connect to your Warrior (basically, IPaddress:8001). Then you can set up which project you like, start it up, etc. The VM will check for Docker container updates at boot, and if you hit the little Shut Down button in the web GUI, it will shut the VM off, and then you can close UTM.
References: